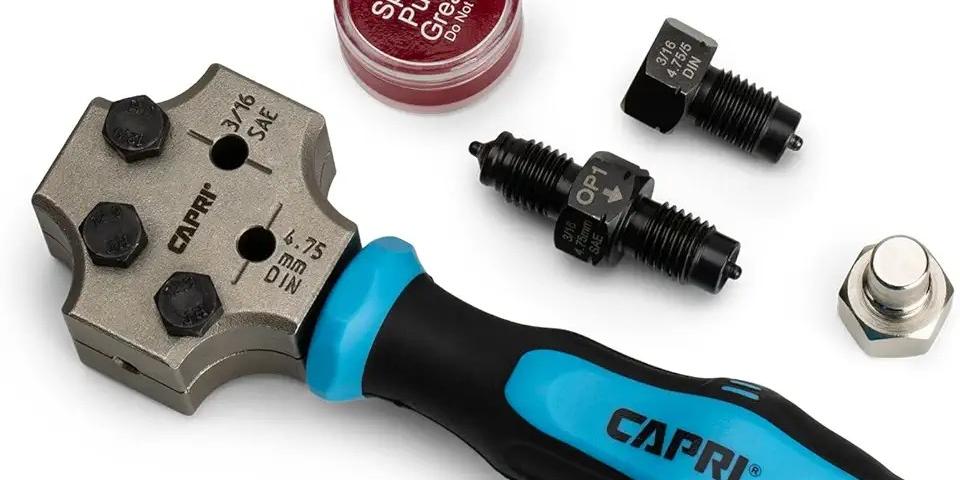
The flaring tool is a fundamental piece of equipment in the world of plumbing, HVAC, and automotive applications. It’s used primarily for creating a flared end on pipes and tubing, which allows for secure connections between different components. While many DIY enthusiasts might not be familiar with this tool, its usefulness cannot be overstated. Whether you’re attaching copper pipes, working on refrigeration systems, or modifying a vehicle, understanding how to use a flaring tool effectively can vastly improve the quality and durability of your work. This article aims to delve into the nuances of flaring tools: their designs, types, uses, and techniques, ensuring that by the end, you will be well-equipped to choose and use this important tool for your projects.
What Is a Flaring Tool?
A flaring tool is specifically designed to create a conical shape at the end of pipe or tubing. This flared shape allows the tubing to fit snugly against a hose or a fitting that requires a secure connection, preventing leaks and ensuring the integrity of the system. Flaring tools are commonly used in HVAC systems for refrigeration lines, in plumbing for copper pipes, and even in automotive applications for brake lines or fuel lines.
Flaring typically involves three main steps: cutting the pipe or tubing to the desired length, using the flaring tool to create the flared end, and finally connecting the flared pipe to another component. The process might seem straightforward, but achieving a proper flare is crucial for successful connections. A poorly flared end can lead to leaks, which can jeopardize the entire system, making it vital for anyone working with pipes and tubing to have an understanding of how to utilize a flaring tool effectively.
Types of Flaring Tools
There are several types of flaring tools available, each tailored for specific tasks and materials. Understanding the different types will help you choose the right flaring tool for your project.
Manual Flaring Tools
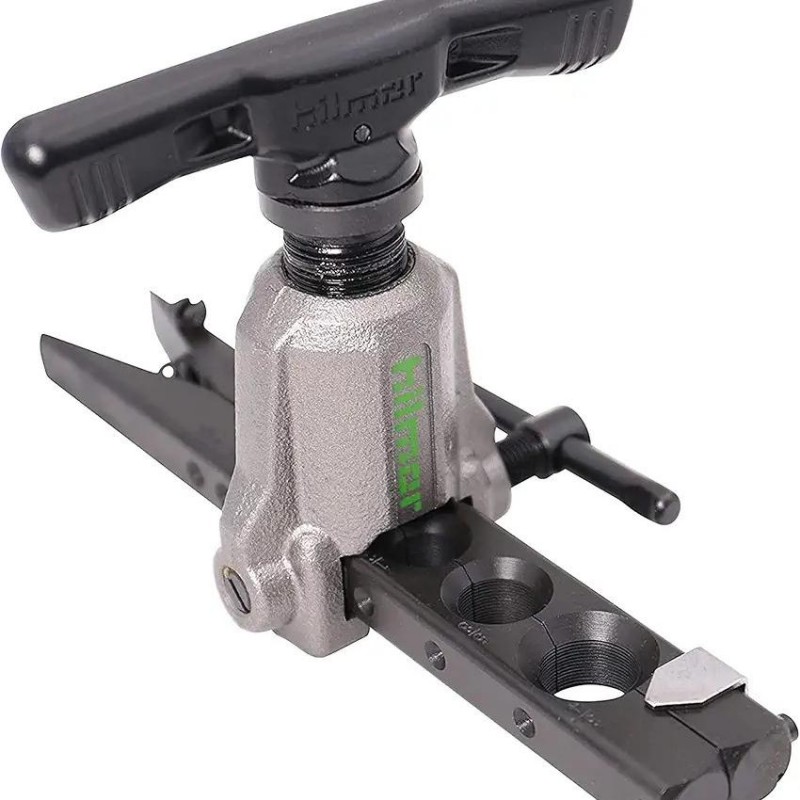
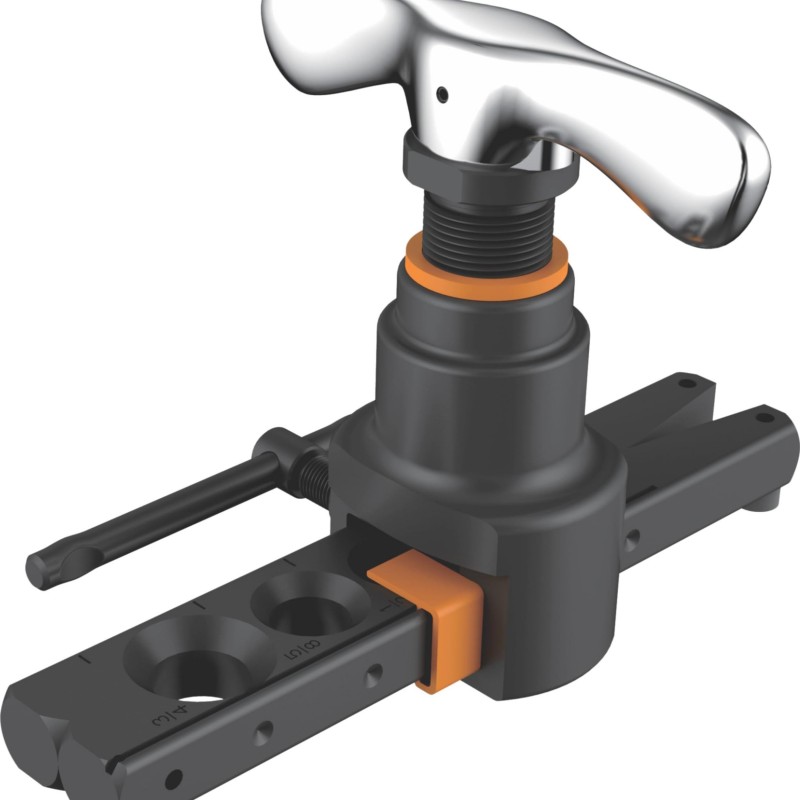
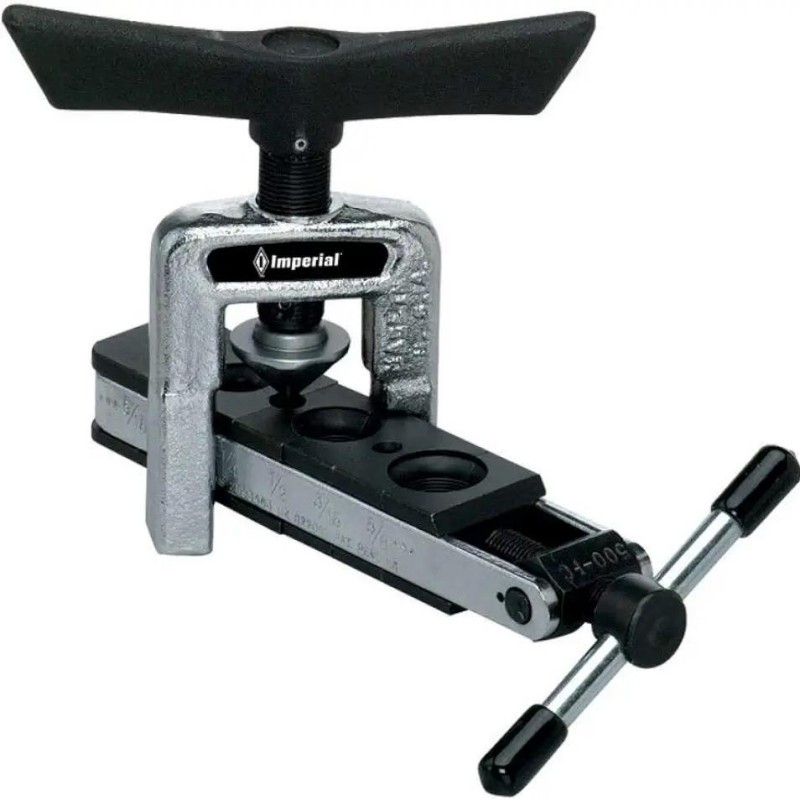
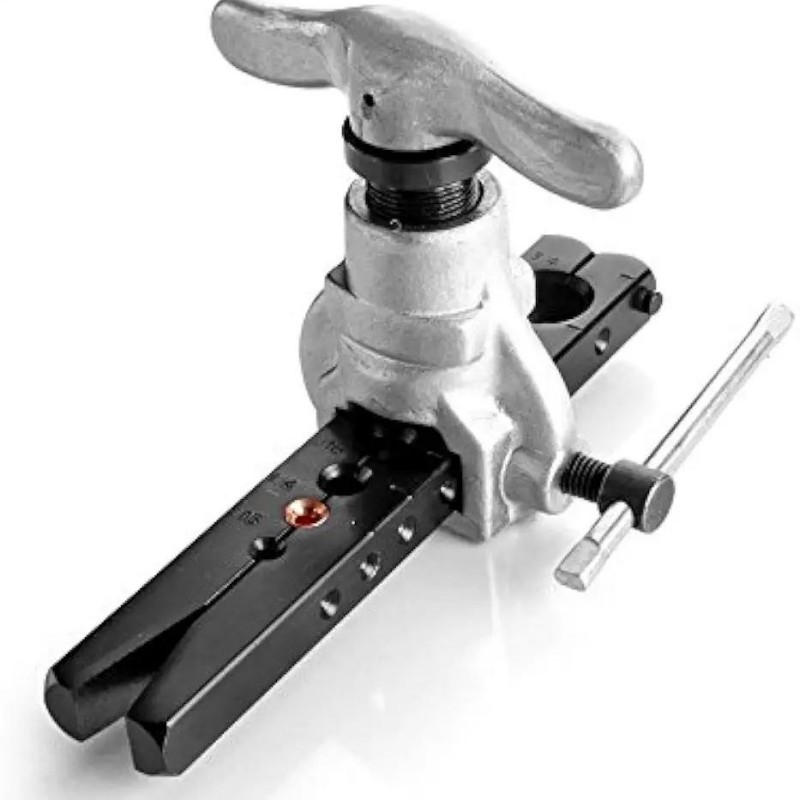
Manual flaring tools are often the go-to choice for DIY enthusiasts and small-scale projects. These tools usually consist of a base, a clamp, and a cone-shaped mandrel. The user manually aligns the tubing and turns a screw to create the flare. Manual tools are affordable and provide good precision, making them ideal for home use, particularly for smaller pipes like copper tubing.
Hydraulic Flaring Tools
For professionals or those engaging in larger projects, hydraulic flaring tools provide enhanced power and precision. These tools use hydraulic pressure to create flares, making them capable of working with tougher materials and larger diameters. While they are more expensive and less portable, their efficiency and reliability in industrial settings make them desirable for tasks that require recurring flaring operations.
Electric Flaring Tools
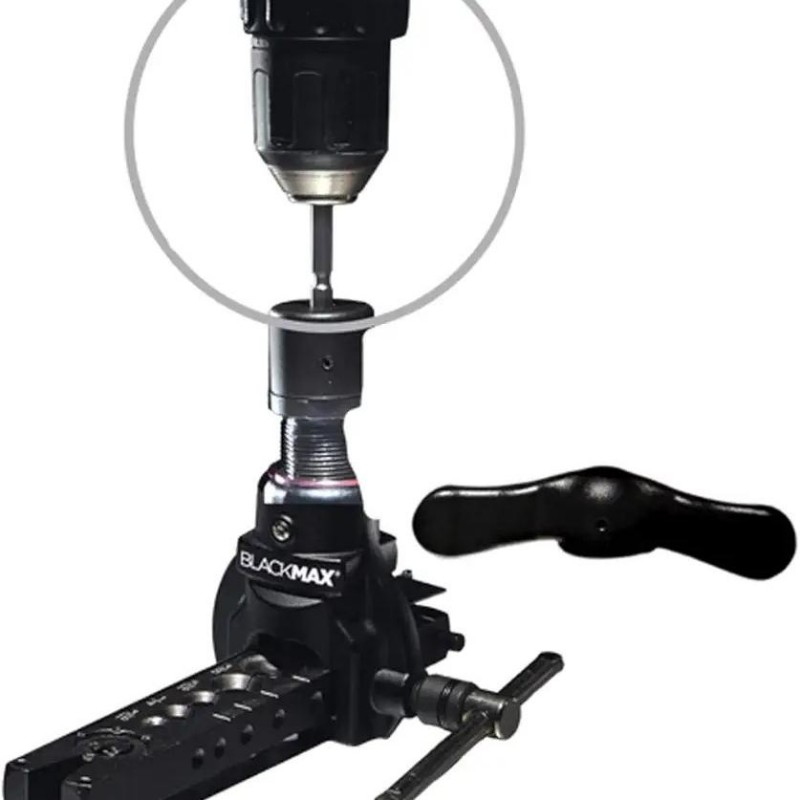
Electric flaring tools automate the flaring process entirely, allowing for consistent and rapid production of flared ends. These tools are ideal for tasks that require a large volume of work or for environments where multiple connections need to be made in a short amount of time. While they come at a higher price point, the efficiency they offer can often justify the investment for businesses and serious DIYers.
Specialty Flaring Tools
There are also specialty flaring tools designed for specific applications. For instance, some tools may be tailored for specific pipe sizes or types, such as soft copper or aluminum, while others may be equipped to create flares for specific fitting styles or angles. It’s important to consider the specifics of the job when selecting a flaring tool, as particular materials and sizes can greatly impact the effectiveness of the tool.
How to Use a Flaring Tool: Step-by-Step Guide
Understanding how to use a flaring tool is crucial for achieving reliable connections. Below is a step-by-step guide that can help even novice users create professional-quality flares.
Preparing the Tubing
Begin by selecting the appropriate tubing material for your project. Cut the tubing to the required length using a pipe cutter to ensure a clean, straight cut. It’s important to remove any burrs from the cut end, as they can compromise the flare later on. Use a deburring tool or a file to ensure that the end of the tubing is smooth.
Setting Up the Flaring Tool
Place the tubing into the flaring tool. Align the tubing according to the manufacturer’s instructions, ensuring it is secure and at the correct angle. For manual flaring tools, this is often done by positioning the tubing beneath the clamp and tightening it securely.
Flaring the Tubing
With the tubing securely in place, apply pressure according to the type of flaring tool being used. If it’s a manual tool, you’ll need to crank the screw to engage the cone-shaped mandrel into the tubing, expanding it to create the flare. For hydraulic or electric tools, follow the specific operating instructions to apply the necessary pressure.
Inspecting the Flare
Once you’ve completed the flaring process, carefully remove the tubing from the tool and inspect the flare. It should have a smooth, even surface, and the conical shape should correctly match the fitting you are using. If it appears too shallow, uneven, or cracked, you may need to cut the tubing again and attempt the process once more to achieve a flawless flare.
Final Steps
Once the flared end is satisfactory, you can proceed to connect it to your desired fitting or pipe. Make sure to follow any further instructions related to sealing or tightening to ensure a leak-free connection.
Common Mistakes When Using a Flaring Tool
Even experienced users can fall victim to mistakes that can compromise the integrity of a flare. Here are some common pitfalls to watch out for:
Poor Tube Preparation
Skipping proper preparation of the tubing can lead to weak flares and potential leaks. Always make sure to deburr and clean the tubing before use.
Incorrect Tool Settings
Using the wrong settings or not securing the tubing properly can cause uneven flares. Always double-check that your tubing is aligned correctly according to the manufacturer’s instructions.
Over-Compacting the Flare
It can be tempting to apply excessive pressure when flaring for a tighter seal, but this can actually crack or distort the tubing. Stay within the recommended pressure specifications for the tool and material being used.
Ignoring the Material Type
Different materials require different techniques; for example, aluminum may require a different flaring process than copper. Always ensure that you are using the correct tool and technique for the material to avoid complications.
Neglecting Safety Precautions
Safety should always be a priority. Ensure you are wearing protective gear and that your workspace is clear of any hazards when using flaring tools to prevent injuries.
Maintenance of Your Flaring Tool
Keeping your flaring tool in top condition is essential for consistent performance and longevity. Here are some maintenance tips to ensure your tool remains operational:
Regular Cleaning
After each use, clean the tool thoroughly to prevent any corrosion or buildup of debris. For manual tools, wipe them down with a cloth, and for electric or hydraulic models, follow the manufacturer’s cleaning instructions.
Check for Damage
Inspect your flaring tool regularly for any signs of wear, damage, or misalignment. If any component appears compromised, make necessary adjustments or replacements to keep it functioning safely and effectively.
Lubrication
Using a lubricant on moving parts, where applicable, can enhance operation, especially for hydraulic and electric tools. Ensure you are using appropriate lubricant based on manufacturer recommendations to avoid damage.
Storage
Store your flaring tools in a dry, cool place, preferably in a protective case to prevent accidental damage. Proper storage ensures that tools are ready for use when you need them.
Final Thoughts
The flaring tool is a versatile and essential equipment for anyone regularly working with pipes and tubing. Its various applications across industries underscore its importance, whether in plumbing, HVAC, automotive, or creative customizations. By understanding the techniques, recognizing the types of flaring tools available, and maintaining your equipment properly, you can ensure high-quality results in all your projects. As you continue to hone your skills and explore the exciting possibilities of flaring tools, remember that mastery comes with time and practice. Embrace the challenges and rewards that come with learning, and your projects will benefit immensely.
Conclusion
The flaring tool is more than just another tool in your toolbox; it is an essential instrument for anyone working with pipes and tubing. By understanding the various types of flaring tools, how to properly use them, and the common mistakes to avoid, you will be well-prepared to take on projects requiring flared connections successfully. With proper maintenance, your flaring tool can serve you for years, providing reliable results across multiple applications. Whether you are a DIY enthusiast or a seasoned professional, mastering the use of a flaring tool will not only enhance your skills but ultimately lead to sturdier and more efficient connections in your plumbing, HVAC, and automotive tasks.
