A multimeter is an essential tool for anyone dealing with electrical systems, whether you’re a DIY enthusiast, a mechanic, or a professional electrician. Understanding how to use a multimeter properly can save time, prevent mistakes, and even avoid potentially hazardous situations. In this guide, you’ll learn everything you need to know about using a multimeter, from basic functions to advanced tips. By the end, you’ll feel confident in testing voltage, current, and resistance like a pro.
What is a Multimeter?
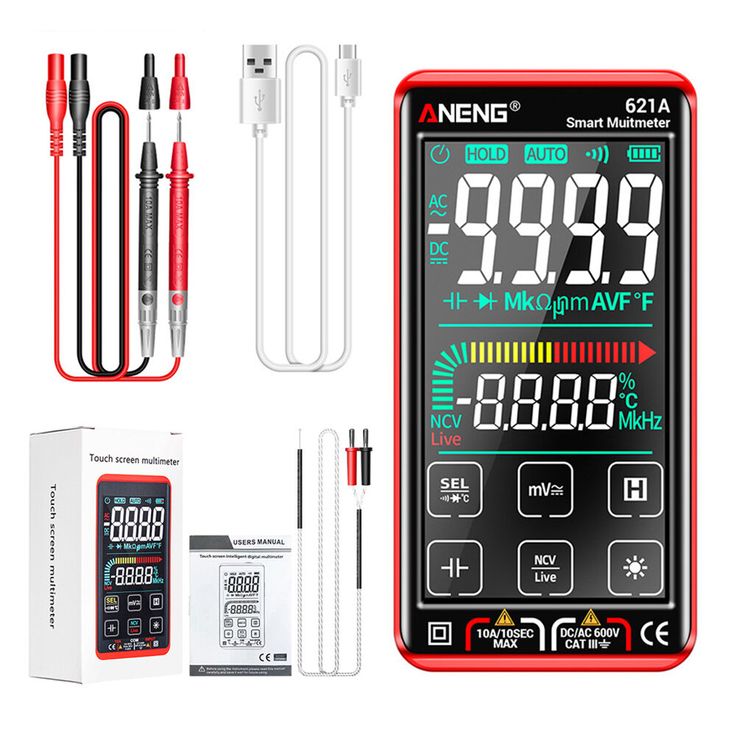
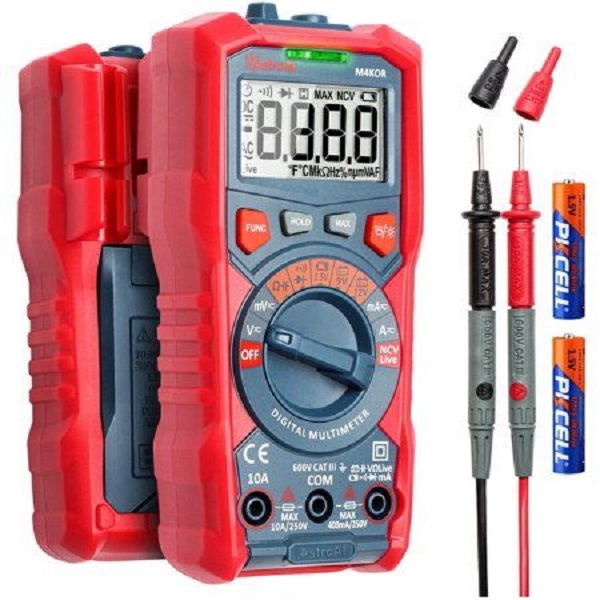
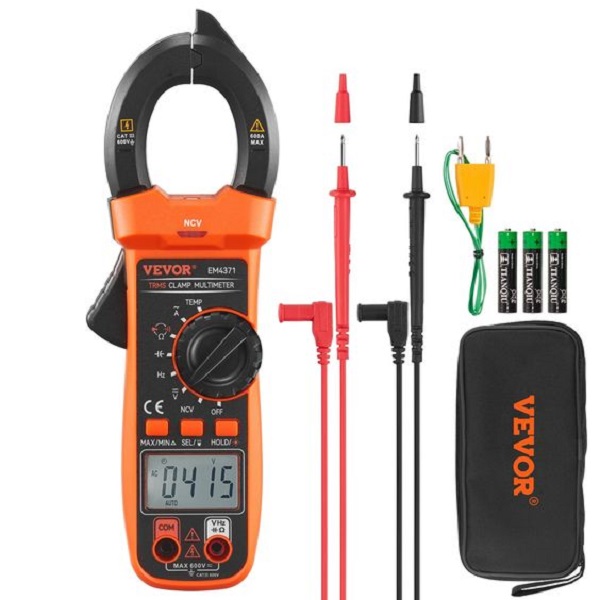
A multimeter is a versatile instrument used to measure different electrical properties, such as voltage, current (amps), and resistance (ohms). Whether diagnosing a malfunctioning appliance or performing regular maintenance, a multimeter is the go-to tool for all things electrical. There are two main types of multimeters available on the market: analog and digital. Digital multimeters (DMM) are more popular due to their ease of use and accurate readings, making them ideal for both beginners and professionals.
Components of a Multimeter
To understand how to use a multimeter, it’s essential to know the different components:

- Display: This shows the measurement readings.
- Dial/Selector: Lets you choose the type of measurement you want to take (voltage, current, or resistance).
- Test Leads: Two wires, usually red and black, that connect the multimeter to the circuit or component being tested.
- Ports: These are where the test leads plug into the multimeter. The red lead usually plugs into the port marked “VΩ,” while the black lead plugs into the “COM” port.
Once familiar with these parts, you’re ready to start using the multimeter.
How to Measure Voltage with a Multimeter
Step 1: Set the Multimeter to Measure Voltage
Before measuring voltage, always ensure that your multimeter is set to the correct mode. Turn the dial to the voltage setting, marked with a “V.” For measuring household electricity, you’ll use AC voltage (often denoted as “V~”), while DC voltage (“V-“) is commonly used for batteries and car circuits.
Step 2: Insert the Test Leads
Insert the black lead into the “COM” port and the red lead into the “VΩ” port. The black lead is the ground, and the red lead will make contact with the live wire or terminal.
Step 3: Connect the Leads to the Circuit
Touch the black lead to the ground (negative terminal) and the red lead to the positive terminal. The multimeter will show the voltage reading on its display. Always ensure that you do not touch the metal part of the leads while testing to avoid any shocks.
Step 4: Interpret the Reading
The display will show the voltage value. For example, if you’re testing a 9-volt battery, the display should show a value around 9 volts. If testing a home outlet, the display should show approximately 120 volts (in the U.S.). If the reading is significantly different, the component may be malfunctioning.
How to Measure Current with a Multimeter
Measuring current can be a little trickier than measuring voltage, but it’s straightforward once you get the hang of it.
Step 1: Set the Multimeter to Measure Current
Set the dial to the current setting, usually denoted as “A.” Ensure that you know whether you’re measuring AC or DC current because the settings are different for both.
Step 2: Move the Red Lead to the Appropriate Port
For current measurements, you’ll need to move the red lead to a different port—often labeled “A” or “10A” for high-current measurements. Be careful: most multimeters can only handle up to 10 amps of current. Measuring too much current can damage the multimeter.
Step 3: Break the Circuit
Unlike voltage, where you can measure across terminals, current must be measured in series. This means you have to break the circuit and connect the multimeter leads to complete the circuit.
Step 4: Interpret the Reading
Once the multimeter is connected in series, it will display the current flowing through the circuit. If the current exceeds the multimeter’s limit, it will either show an “OL” reading (overload) or blow a fuse.
How to Measure Resistance with a Multimeter
Step 1: Set the Multimeter to Measure Resistance
Turn the dial to the resistance setting, denoted by the Greek letter “Ω” (ohms). Resistance is a measure of how much a component resists the flow of current.
Step 2: Insert the Test Leads
Just like with voltage measurements, insert the black lead into the “COM” port and the red lead into the “VΩ” port.
Step 3: Connect the Leads to the Component
Touch the test leads to the two points where you want to measure resistance. This could be across a resistor or a wire. Ensure that the component is not connected to any power source while measuring resistance.
Step 4: Interpret the Reading
The multimeter will display the resistance value. If you see a reading of “OL,” it means the resistance is too high for the multimeter to measure, indicating an open circuit.
Continuity Testing with a Multimeter
Step 1: Set the Multimeter to Continuity Mode
Continuity testing helps determine whether a circuit is complete, meaning current can flow through it. Set your multimeter to continuity mode, usually symbolized by a diode icon or soundwave symbol.
Step 2: Insert the Test Leads
Place the black lead into the “COM” port and the red lead into the “VΩ” port.
Step 3: Test the Circuit or Component
Touch the leads to the two points of the circuit you want to test. If the circuit is complete, the multimeter will beep. No sound indicates a broken circuit.
When to Use Continuity Testing
Continuity testing is especially useful for checking fuses, wires, and switches. If a component is supposed to allow current to pass through but fails the continuity test, it’s likely damaged and needs replacing.
Diode Testing with a Multimeter
Step 1: Set the Multimeter to Diode Test Mode
Diode testing is another feature available on most multimeters. Diodes allow current to flow in one direction only, and testing them ensures they’re working properly. Set your multimeter to diode mode, often symbolized by a small triangle with a line.
Step 2: Insert the Test Leads
Just like before, insert the black lead into the “COM” port and the red lead into the “VΩ” port.
Step 3: Test the Diode
Touch the leads to the two ends of the diode. The multimeter will display a small voltage drop if the diode is functioning correctly. Reverse the leads, and the multimeter should show “OL,” indicating no current can flow in the reverse direction.
Advanced Tips for Using a Multimeter
Proper Care and Safety
- Check your multimeter regularly for damage, especially the test leads.
- Never exceed the rated capacity for current, voltage, or resistance.
- Always start with the highest setting when measuring voltage or current to avoid overloading your multimeter.
Understanding Auto-Range vs. Manual Range
When it comes to multimeters, one key feature that often differentiates models is whether they offer auto-ranging or manual-ranging functionality. Understanding the difference between these two modes is essential in selecting the right tool for your needs and skill level.
Auto-ranging multimeters are particularly popular among beginners because they simplify the measurement process. With auto-ranging, the multimeter automatically selects the correct range for the type of measurement you’re taking—whether it’s voltage, current, or resistance. This means you don’t have to manually dial in the appropriate range for the value you’re trying to measure. For example, if you’re checking the voltage of a household circuit, an auto-range multimeter will automatically adjust to the correct voltage range, eliminating the risk of setting it too low or too high. This feature is not only convenient but also reduces the likelihood of errors, making it a great option for hobbyists or anyone new to electrical work.
However, while auto-ranging multimeters offer ease of use, manual-ranging multimeters provide greater precision and control, making them the preferred choice for more experienced users or professionals. In manual mode, you are responsible for selecting the exact range based on the expected values of your measurements. This added control allows for quicker readings when you know the specific range ahead of time. For instance, if you’re measuring resistance in a circuit and you know it’s likely to fall within a certain range, a manual-range multimeter allows you to lock in that specific range, giving you more accurate and faster results.
Conclusion
Now that you understand how to use a multimeter, you can confidently test electrical components and circuits in a variety of settings. Whether it’s diagnosing issues with a household appliance, measuring the voltage in a car battery, checking the resistance of a wire, or performing continuity tests on a circuit, a multimeter equips you with the precision needed for these tasks. This tool not only saves time but also enhances safety by helping you identify potential problems before they lead to bigger issues, such as electrical shorts or component failures.
For beginners, learning how to use a multimeter opens up the opportunity to tackle a range of DIY projects, from simple electrical repairs to more advanced troubleshooting. You no longer need to rely on guesswork when determining whether a component or wire is functioning properly. On the other hand, for professionals in the fields of electrical work, engineering, or automotive repair, mastering the use of a multimeter is essential for providing accurate diagnostics and ensuring that systems are operating correctly and efficiently.