Mini lathes are versatile tools that empower hobbyists and professionals alike to create intricate projects with ease. Whether you’re shaping wood, metal, or plastic, mastering how to use a mini lathe can open up a world of creativity. This guide will provide you with the essential information and tips to get started effectively.
Understanding Your Mini Lathe
What is a Mini Lathe?
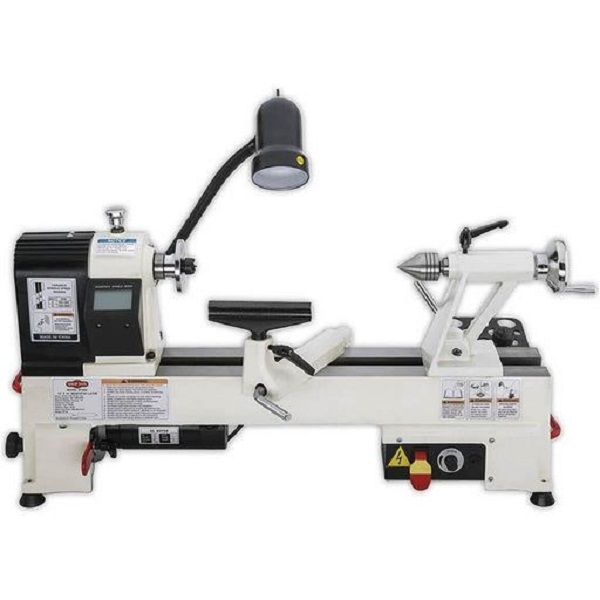
A mini lathe is a compact machine used primarily for shaping materials. Unlike larger lathes, mini lathes are designed for smaller projects, making them ideal for hobbyists, model makers, and anyone working in limited spaces. They offer all the basic functionalities of larger lathes but in a more manageable size.
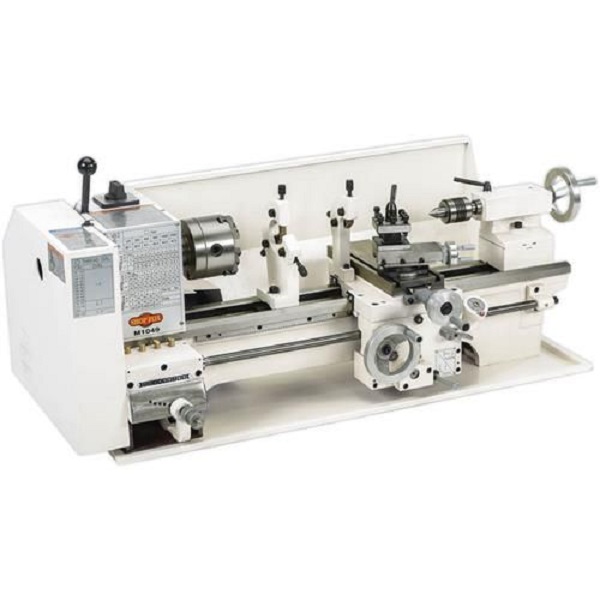
Key Components of a Mini Lathe
Before you begin, familiarize yourself with the main components:
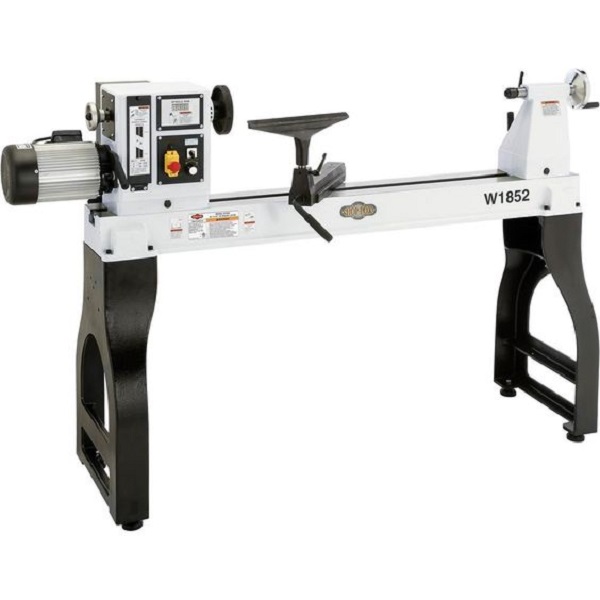
- Headstock: Houses the motor and spindle, which holds the workpiece.
- Tailstock: Provides support for the other end of the workpiece and can hold various tools.
- Bed: The foundation of the lathe, ensuring stability.
- Carriage: Moves along the bed to control the tool’s position.
- Tool Rest: Supports cutting tools, allowing for smooth shaping.
Understanding these parts will help you operate the lathe more efficiently and safely.
Setting Up Your Mini Lathe
Choosing the Right Location
Find a flat, sturdy surface to place your mini lathe. Ensure there’s adequate space around it for movement and that it’s close to power outlets for easy access.
Leveling the Lathe
Using a spirit level, check that the lathe is level from side to side and front to back. Adjust the feet if necessary. A level lathe ensures precision and accuracy in your projects.
Safety Precautions
Before starting, prioritize safety. Always wear safety goggles to protect your eyes from flying debris. Ensure long hair is tied back, and avoid loose clothing that can get caught in moving parts.
How to Use a Mini Lathe: Step-by-Step
1. Preparing Your Workpiece
Start by selecting the material you want to work with. Common options include:
- Wood: Ideal for decorative items, toys, and furniture components.
- Metal: Perfect for creating precision parts and tools.
- Plastic: Useful for prototypes and hobby projects.
Secure the workpiece in the headstock’s chuck. Make sure it’s tight to prevent slipping during operation.
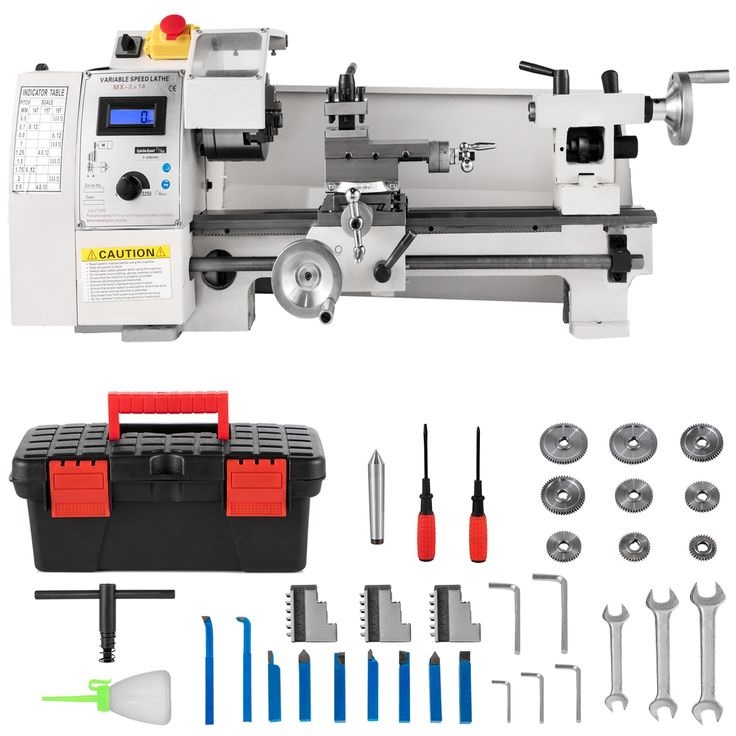
2. Selecting the Right Tool
Choose the appropriate cutting tool for your project. Common tools include:
- Turning Tool: For shaping and smoothing the surface.
- Parting Tool: For cutting off sections of the material.
- Drilling Bit: If you need to create holes in your workpiece.
Always use sharp tools for clean cuts. Dull tools can lead to frustration and safety hazards.
3. Setting the Speed
Different materials require different speeds. Refer to your mini lathe’s manual for specific recommendations. As a general rule:
- Wood: Start at a higher speed (around 2,000-3,000 RPM).
- Metal: Use a slower speed (around 500-1,000 RPM) to avoid overheating.
Adjust the speed using the lathe’s control dial, ensuring it matches your material and cutting tool.
4. Starting the Lathe
Once everything is set up, turn on the lathe. Stand clear of the rotating workpiece initially to ensure everything is functioning correctly. Observe the operation closely to identify any irregularities.
5. Shaping the Workpiece
Begin shaping your workpiece by slowly moving the cutting tool into contact with the material. Use smooth, consistent motions. Remember:
- Pressure: Apply steady pressure without forcing the tool.
- Angle: Maintain the correct angle for the tool against the workpiece to avoid chattering or snagging.
Adjust the tool rest as necessary to keep the cutting tool at the right height.
6. Fine-tuning and Finishing
As you progress, regularly check the workpiece for accuracy and smoothness. Use finer tools or sandpaper for finishing touches. A well-finished surface enhances the overall appearance of your project.
7. Cleaning Up
After completing your project, turn off the lathe and clean the workspace. Remove any shavings and dust to maintain a safe working environment. Store your tools and lathe accessories properly to ensure longevity.
Advanced Techniques for MiNi Lathe Users
Decorative Turning
Once you’re comfortable with basic operations, consider exploring decorative turning. This involves creating intricate designs, such as beads or coves. Using specialized tools and techniques can elevate your projects to a professional level.
Multi-Material Projects
Experiment with different materials. Combining wood and metal can lead to stunning results, such as custom furniture or unique art pieces. Just remember to adjust your settings according to the material you’re working with.
Tool Maintenance
Keep your tools sharp and in good condition for optimal performance. Regularly inspect them for wear and tear, and replace or sharpen as necessary. Proper tool maintenance will improve your results and extend the life of your equipment.
Troubleshooting Common Issues
Vibration
Excessive vibration during operation can lead to imprecise cuts. Check the lathe’s setup and ensure it’s on a stable surface. Tighten any loose parts and ensure the workpiece is secure.
Poor Finish
If you’re experiencing a rough finish, it may be due to dull tools, incorrect speed settings, or improper cutting angles. Sharpen your tools, adjust the speed, and practice your technique to achieve smoother results.
Workpiece Slipping
If your workpiece slips in the chuck, ensure it’s securely fastened. Clean the chuck jaws and workpiece ends to remove any debris that might affect grip.
Expanding Your Skills: Accessories and Upgrades
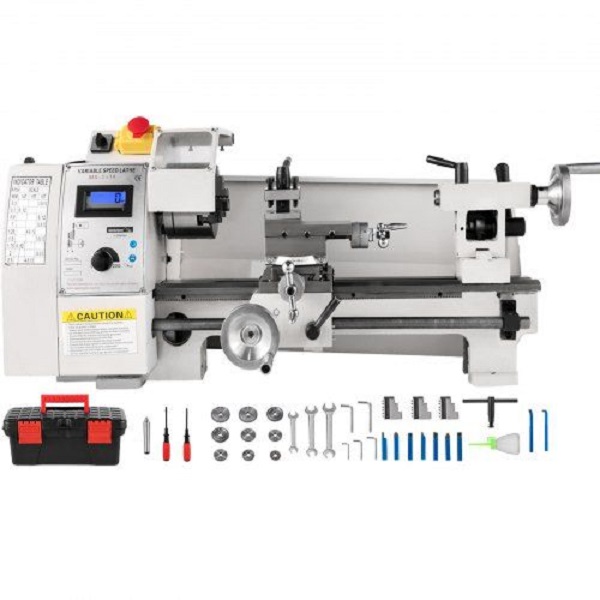
Essential Accessories for Mini Lathes
Investing in the right accessories can significantly enhance your mini lathe’s capabilities. Here are a few must-have tools:
- Chucks: Upgrading to a quality chuck can improve the grip and accuracy of your workpiece. Consider options like scroll chucks or collet chucks for different projects.
- Tool Holders: Various tool holders allow for quick tool changes and greater versatility. Choose holders that are compatible with your lathe model.
- Live Centers: These are used in the tailstock to support the workpiece while allowing it to rotate freely. They are particularly useful for longer pieces.
- Sanders and Buffers: Adding sanding and buffing accessories helps in achieving a polished finish. Look for attachments that can be used directly with your lathe.
- Dust Collection Systems: Keeping your workspace clean is essential. A dust collection system can help manage wood shavings and debris effectively.
Upgrading Your Mini Lathe
As your skills progress, you may consider upgrading certain components of your mini lathe for better performance:
- Motor Upgrade: If you find yourself working on demanding projects, a more powerful motor can provide the extra torque needed for tougher materials.
- Variable Speed Control: Having more precise control over your lathe’s speed can make a significant difference, especially when working with various materials.
- Digital Readouts: These can help you achieve more accurate measurements, especially useful for intricate designs.
Creative Project Ideas for Mini Lathe
1. Customized Furniture
Create unique furniture pieces tailored to your space. Consider crafting table legs, decorative knobs, or even entire chairs using your mini lathe.
2. Wooden Toys
Make delightful toys for children by turning wooden shapes. Items like spinning tops or personalized name plaques can be great projects that allow for creativity and precision.
3. Decorative Bowls
Turning wooden bowls can be a rewarding challenge. Experiment with different types of wood to create beautiful pieces that can serve as functional items or home decor.
4. Jewelry
Crafting wooden jewelry, such as pendants or earrings, is an excellent way to explore detailed work on your mini lathe. Use fine tools for intricate designs.
5. Tool Handles
Enhance your existing tools with custom handles made from wood or other materials. Personalizing tool handles can make them more comfortable and visually appealing.
Community and Learning Resources
Online Forums and Groups
Engaging with fellow hobbyists can provide inspiration and solutions to challenges you might face. Consider joining online forums or social media groups dedicated to woodworking or mini lathe projects. Share your experiences, ask questions, and learn from others in the community.
Tutorials and Workshops
Many websites and local craft stores offer tutorials and workshops focused on using mini lathes. Participating in these can enhance your skills and introduce you to new techniques.
Books and Magazines
Look for books and magazines on woodworking and lathe projects. These resources often include step-by-step guides, tips, and inspiration for your next project.
Mastering the Mini Lathe: A Guide to Crafting and Manufacturing
Learning how to use a mini lathe opens up a world of creative possibilities and practical applications. This versatile tool allows you to shape and create a wide range of objects, from wooden bowls and pens to metal parts and jewelry. With practice and dedication, you can master the mini lathe and unlock your full potential as a craftsperson or manufacturer.
Key Benefits of Learning to Use a Mini Lathe:
- Creativity and Expression: Mini lathes provide a platform for expressing your creativity and turning your ideas into tangible objects.
- Skill Development: Using a mini lathe requires precision, patience, and a keen eye for detail. As you gain experience, you’ll develop valuable skills that can be applied to other woodworking or metalworking projects.
- Versatility: Mini lathes can be used for a wide range of tasks, from woodturning and metalworking to jewelry making and model building.
- Practical Applications: Mini lathes have practical applications in various fields, including woodworking, metalworking, and prototyping.
Learning how to use a mini lathe can be a rewarding and fulfilling experience. With practice, patience, and dedication, you can unlock your creative potential and create beautiful and functional objects. Remember to prioritize safety, seek guidance, and enjoy the process of mastering this versatile tool.