In the world of DIY projects and professional trades, having the right hand tools at your disposal is crucial. However, it’s not just about having the tools; it’s also about organizing them effectively for ease of use. This is where color-coded hand tools become a game-changer. Color-coding offers a practical solution for tool management, making it easier for users to quickly identify and access the necessary tools for various tasks. By using different colors for different tool types or intended uses, you can streamline your workflow and reduce the time spent searching for the right implement. This article delves into the concept of color-coded hand tools, discussing their advantages, design variations, recommendations for implementation, and maintenance tips. By adopting this organization strategy, you can significantly enhance your productivity and efficiency in any workshop or job site.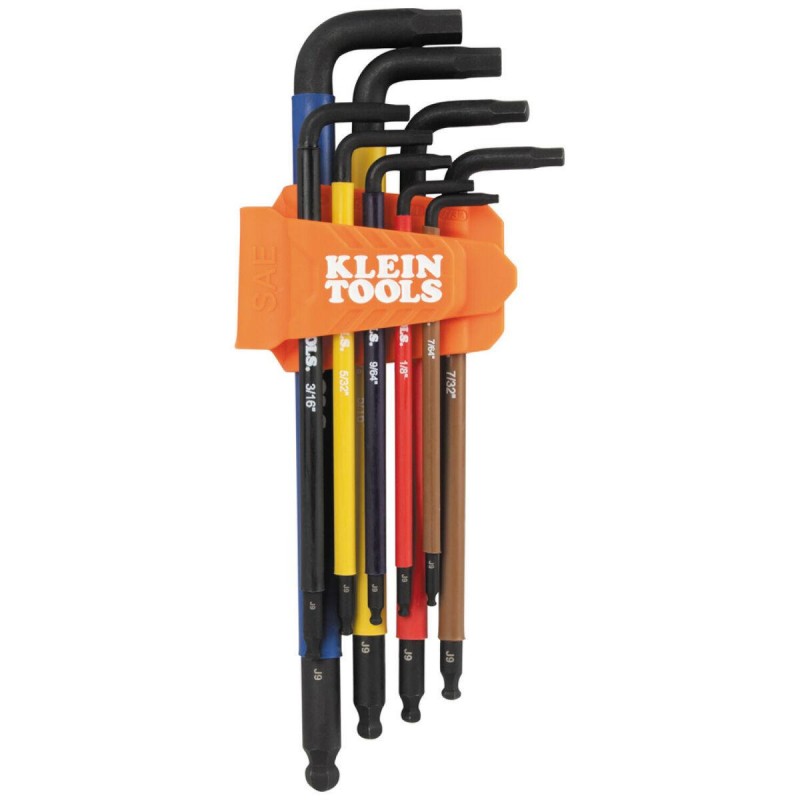
The Concept of Color-Coding in Tool Organization
Color-coding has long been used as a visual tool in various settings, from organizing files in offices to managing inventory in warehouses. In the context of hand tools, this method brings similar benefits, particularly in enhancing organization and efficiency.
Definition and Purpose
Color-coded hand tools utilize distinct colors to signify categories, functions, or specific uses, allowing for immediate visual identification. The primary purpose of this system is to help users quickly recognize tools without sifting through the entire toolbox, ultimately saving time and reducing frustration.
Visual Simplification
Our brains naturally respond well to visual cues, which is why color-coded systems work effectively. By associating a particular color with a specific function, you create a cognitive shortcut that enhances the user experience and prevents unnecessary delays during tasks.
Advantages of Using Color-Coded Hand Tools
Implementing color-coded hand tools offers a variety of strategic benefits to both amateur DIY enthusiasts and professional tradespeople. These advantages include:
1. Improved Efficiency
One of the most notable benefits of color-coded hand tools is the increased efficiency they bring to projects. By quickly identifying the right tool based on color, you spend less time searching and more time getting work done. This speed can significantly improve productivity, especially in tasks requiring multiple tools.
2. Enhanced Organization
A system of color-coding contributes to improved organization and can create a more structured workspace. Having designated colors for specific types of tools minimizes clutter and confusion, allowing you to keep your workspace tidy, streamlined, and orderly.
3. Reduced Errors
Particularly in complex tasks, misplacing or using the wrong tool can lead to errors that affect the outcome of your project. Color-coded hand tools help reduce these mistakes by ensuring that you reach for the right instrument every time.
4. Streamlined Training
For new employees or inexperienced DIYers, training becomes simpler with color-coded systems in place. The visual cues mediate the learning curve, making it easier for individuals to remember which tools belong to which categories.
5. Easy Maintenance
Color-coding can also aid in maintenance. If you notice that a specific tool is missing or damaged, the assigned color makes it easier to spot the gap in your collection. Regular checks become simpler, enhancing the longevity of your tools.
Types of Color-Coded Hand Tools
Various types of hand tools can benefit from color-coding, and implementing this practice can make a considerable difference in how you interact with your toolkit.
1. Screwdrivers
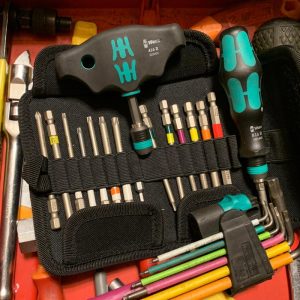
Color-coded screwdrivers can assist in easy identification of types and sizes. For example, red can signify Phillips head, while blue represents flathead. This system allows for quick access while minimizing the risk of confusing one screwdriver for another.
2. Wrenches
Wrenches can also be categorized by size or type with colors. Assigning colors based on wrench sizes or styles—such as adjustable, socket, or open-end—can greatly enhance organization and improve efficiency during projects.
3. Pliers
Pliers come in various styles and sizes, including needle-nose, slip-joint, and cutting pliers. By color-coding these tools, you can streamline the selection process and make it easier to grab the tool you need without hesitation.
4. Hammers
Different types of hammers—such as claw, sledge, or ball-peen—can be color-coded based on their purpose. Assign a unique color to each hammer type to prevent mix-ups during critical tasks.
5. Paint Brushes
When it comes to DIY painting projects, paintbrushes can also benefit from color-coding. Use different colors for different brush types, such as round, flat, and angle, making it easier to correctly select your tools.
Implementing a Color-Coding System for Your Tools
To effectively utilize color-coded hand tools, one must establish a sensible and consistent color-coding system. Here are some practical steps to help you get started: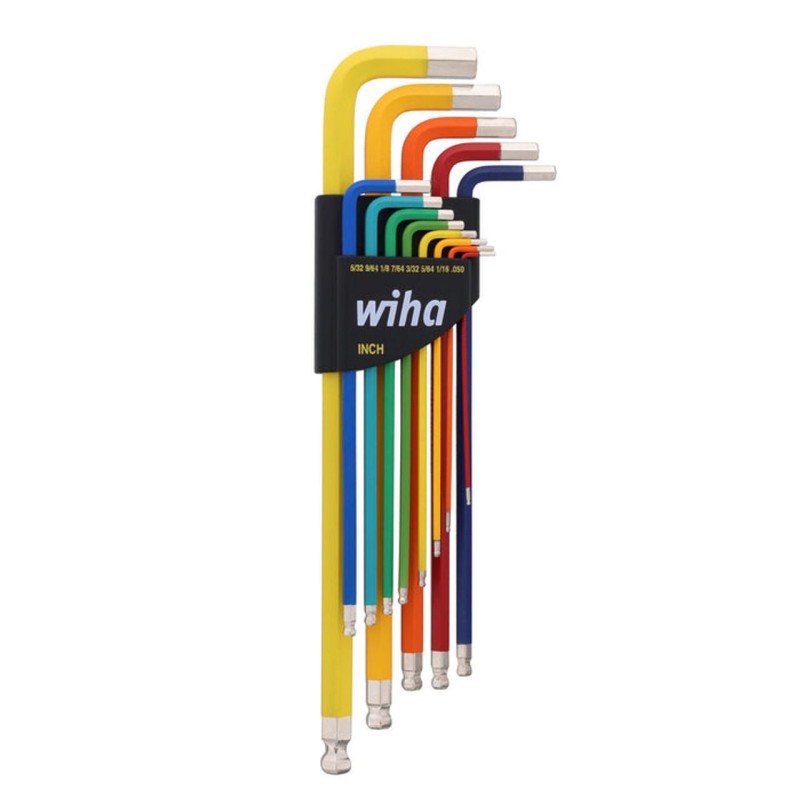
1. Determine Categories
Begin by identifying the categories you want to use for your tools. These categories could include types of tools, uses, sizes, or other relevant classifications.
2. Assign Colors
Once you have established categories, select colors that represent each category effectively. Consider using the following examples:
- Red: Used for screwdrivers.
- Blue: Designated for wrenches.
- Green: Commonly used for pliers.
- Yellow: For hammers.
- Orange: For paint brushes.
3. Implement a Visual Guide
Creating a visual guide that outlines your color-coding system will help everyone using the workspace understand the distinctions. Hang this guide in a prominent spot for easy access.
4. Labeling Tools
You may also consider labeling your tools with their assigned colors. Use stickers, colored tape, or paint to mark tools consistently, ensuring that the color-coding system is immediately recognizable.
5. Review and Adjust
After implementing the initial color-coding system, review its effectiveness after a few weeks of usage. Consider gathering feedback from other users, and make adjustments as necessary to ensure the system suits everyone’s needs.
Maintenance of Color-Coded Hand Tools
Maintaining color-coded hand tools is vital for their longevity and continued functionality. Follow these tips to ensure your tools remain in top condition:
1. Regular Cleaning
Keep your tools clean by regularly wiping off dust, debris, and grease. This practice protects against rust and damage. Ensure that colors remain visible and vibrant throughout their use.
2. Inspect for Damage
During each use, examine your tools for any signs of wear or damage. Address any issues you discover promptly to prevent safety hazards and further deterioration.
3. Store Properly
Implement proper storage solutions that accommodate your color-coded system. Consider toolboxes, pegboards, or magnetic strips designed to keep tools visible and organized.
4. Retouch Colors as Needed
If colors start to fade or peel, consider retouching them to maintain a clear color-coding system. Use high-quality paint or tape specifically designed for tools to ensure durability.
5. Periodic Inventory
Conduct periodic inventories to keep track of tool quantities and conditions. This step will allow you to notice missing or damaged tools quickly, ensuring you’re prepared for any upcoming projects.
Common Questions About Color-Coded Hand Tools
As you consider the implementation of color-coded hand tools, you may have some questions. Here are some frequently asked questions regarding this practice:
1. Does color-coding really improve efficiency?
Yes, color-coding can significantly enhance efficiency by allowing individuals to quickly identify tools without searching through a toolbox or nested containers.
2. Is it possible to maintain color codes over time?
With proper care and maintenance, your color-coded system can remain effective long-term. Regular attention to your tools can help retain visibility and clarity.
3. How do I decide which colors to use?
Choose colors that create clear distinctions between categories. Consider selecting a standard range of shades that align with existing organizational practices if you work with a team.
4. Can I use other visual aids alongside color coding?
Absolutely! Using additional visual aids, such as labels or instructional guides, can make your color-coding system even more effective.
5. Will color-coding work for all types of tools?
Color-coding is versatile and can work for a wide variety of tools. Adapt the system according to your specific needs to maximize effectiveness.
Conclusion
Understanding how to implement a color-coded system for hand tools offers numerous benefits to both professional tradespeople and DIY enthusiasts. When considering how to improve your organization and efficiency, adopting a color-coded approach can significantly enhance your workspace management, saving you time and frustration.
Through proper planning, execution, and maintenance, color-coded hand tools allow for a more streamlined process in any project. Each element of this system contributes to overall productivity, enabling users to focus on their work rather than searching for tools.
Ultimately, selecting the right colors and adapting the system to meet your needs will maximize the advantages of this approach. Whether you work individually or as part of a team, consider integrating a color-coded system into your organizational practices. Embrace the effectiveness, clarity, and enjoyment that come from efficient tool management while enhancing your workflow!