Using a stud finder effectively can transform your home improvement projects, saving you time, effort, and unnecessary frustration. Whether you’re hanging heavy frames, mounting shelves, or installing wall decorations, locating the studs behind your walls is crucial. Studs provide the support you need to ensure your installations are safe and secure. However, not all stud finders are created equal, and understanding how to use your device effectively is essential for achieving accurate results. In this guide, we’ll explore the different types of stud finders available, detailed techniques for how to use a stud finder effectively, common pitfalls to avoid, and additional tips for maximizing your home projects. By the end of this article, you will have a thorough understanding of how to utilize this handy tool to its fullest potential, enhancing your DIY skills for various home improvement tasks.

Understanding Stud Finders: The Basics
Before diving into how to use a stud finder effectively, it is essential to understand what a stud finder is and how it works. A stud finder is a device designed to help locate framing studs behind walls. These studs are typically 16 to 24 inches apart in most modern homes, making it easier to find them with the right tools.
Types of Stud Finders
There are several different types of stud finders on the market today, each operating on various principles:
- Magnetic Stud Finders: These finders use a magnet to detect metal screws or nails in the studs behind the wall. They are typically less expensive and don’t require batteries.
- Electronic Stud Finders: These more advanced devices detect changes in density within the wall. They are usually more accurate than magnetic finders and can also detect live wiring or pipes.
- Deep Scanning Stud Finders: These are specialized units designed for thicker walls, allowing you to locate studs deeper in the framing. They often come with advanced features for detecting metal and electrical wiring.
By understanding the differences between these types, you can choose one that best suits your particular needs.
Preparing to Use a Stud Finder
Once you have chosen the right stud finder for your project, proper preparation will increase your chances of using it effectively. Here are steps to follow before you begin scanning your walls.
Read the Instructions
Always start by carefully reading the manufacturer’s instructions provided with your stud finder. Each model may have specific features and recommendations that differ from others, so it’s essential to familiarize yourself with how your device operates.
Choose the Right Location
Selecting the right spot for scanning is important. Ideally, work in an open area of the wall that is free from obstacles. Ensure that there are no items obstructing your path, as hitting furniture or decorations may lead to inaccurate readings.
Identify Stud Locations
Before using the stud finder, it’s beneficial to mark the approximate locations of the studs using a measuring tape. Start by measuring from a corner of the wall, typically at 16 inches or 24 inches, since this is where you’re most likely to find studs. This knowledge can give you a reference when scanning with the stud finder.
Calibrate Your Stud Finder
Most electronic stud finders need to be calibrated before use. To do this, place the stud finder flat against the wall and press the button or switch to perform the calibration. This step ensures that the device accurately reads the wall density.
How to Use a Stud Finder Effectively: Step-by-Step Guide
Now that you are prepared, let’s delve into how to use a stud finder effectively with step-by-step instructions. Following these tips will help you locate studs accurately, ensuring that your future projects go smoothly.
Step 1: Set Your Stud Finder to the Correct Mode
If you have an electronic stud finder, determine whether it has different scanning modes. Most models offer a standard mode for typical stud detection and a deep-scanning mode for thicker walls. Selecting the right mode is key to successful scanning.
Step 2: Position the Stud Finder on the Wall
Place the stud finder flat against the wall, ensuring that it makes complete contact with the surface. Hold it against the wall without pressing too hard, as this may lead to an inaccurate reading.
Step 3: Move the Stud Finder Horizontally
Slowly slide the stud finder horizontally across the wall. Maintain even pressure and consistent speed. Watch for signals indicating the presence of studs—this may include beeping, lights activating, or changes in the display.
Step 4: Mark the Studs
As you move across the wall, keep track of where the finder indicates studs. When you receive a signal indicating a stud, mark that spot using a pencil. If the stud finder shows a continuous line or multiple signals, it is likely indicating the width of the stud.
Step 5: Double-Check for Accuracy
After marking the initial stud locations, it’s a good idea to double-check for accuracy. Move the stud finder back over the marked areas. If it consistently indicates the same locations, you can be more confident in your findings.
Step 6: Measure Distances
Once you have confirmed stud sizes and locations, measure the distance between the studs to ensure you know where to position your hardware. Typically, the distance should be consistent (either 16 or 24 inches apart).
Common Mistakes When Using a Stud Finder
Even with the best intentions, users can make mistakes that affect the effectiveness of a stud finder. To maximize your chances of success, pay attention to the following common pitfalls:
Ignoring Calibration
Neglecting to calibrate the stud finder can lead to incorrect readings. Always remember to calibrate before your initial scan, as this sets a baseline for accurate readings.
Rushing the Process
Taking your time is essential when using a stud finder. Rushing can result in missed studs or misunderstandings about the signals received. Focused attention will yield the best results.
Incorrect Wall Surface
Stud finders perform differently on various wall surfaces. For example, textured or irregular surfaces can affect accuracy. To avoid issues, use the finder on a flat, unobstructed area for more reliable readings whenever possible.
Misunderstanding Signals
Different stud finders display signals in various ways. Take the time to understand what your stud finder indicates for studs, live wires, and pipes. Refer to the manual for guidance.
Overlooking Electrical Wiring and Pipes
If your stud finder includes features to detect electrical wiring and pipes, utilize them effectively. Failing to account for these factors can lead to dangerous drilling or installation mistakes.
Advanced Techniques for Using a Stud Finder
Once you’ve mastered the basics, consider exploring more advanced techniques and tips for enhanced accuracy and effectiveness while using a stud finder.
Working with Different Wall Types
Stud finders can work on various wall types, but certain techniques help:
- Drywall: This is the most common wall material for stud finders. Use typical scanning techniques outlined earlier.
- Plaster Walls: For older homes with plaster, the process may require patience, as plaster can interfere with detection. Move slowly and note other signals.
- Concrete or Brick: Some stud finders can detect embedded rebar, but for general stud detection, magnetic stud finders may be less effective. Use a drill to test before proceeding with installs.
Multi-Layer Walls
In homes with multiple wall layers (like drywall over brick), detecting the studs may be more complex. Pay close attention to your readings, moving slowly, and marking every signal you receive.
Identifying Hidden Nails and Screws
Stud finders can help identify nails and screws marking stud locations. If you detect an area consistently, consider verifying with a small drill or a manual probe to ensure it is indeed a stud.
Understanding the Limitations
While stud finders are incredibly useful, they do have limitations. They may not work as effectively on hollow walls or ceilings, and even advanced models can sometimes miss studs if placed on certain surfaces. Be prepared for alternative methods like measuring from corners or previous verified locations.
The Importance of Additional Tools
While a stud finder is a valuable tool for any DIY project, using it in conjunction with additional tools can enhance effectiveness and facilitate better outcomes.
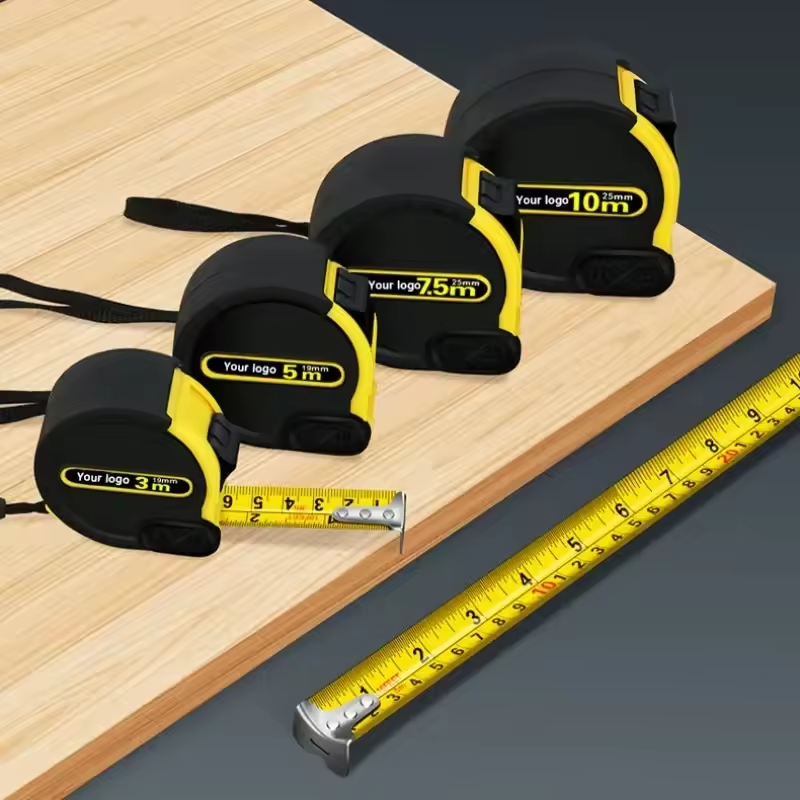
Measuring Tape
No project is complete without a quality measuring tape. Use it to measure distances between studs and ensure accuracy when installing fixtures. This can help avoid errors related to inconsistent stud distances.
Level
After locating the studs, a level is essential to ensure that whatever you hang is straight. An uneven installation can lead to frustration down the line.
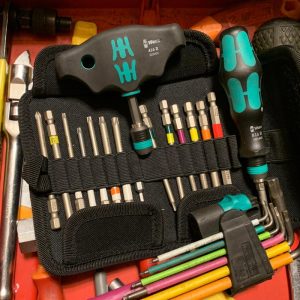
Drill and Drill Bits
Having the right drill and drill bits on hand ensures you can properly install whatever you plan to mount. Choose the correct size according to the screws and anchors being used.
Safety Gear
When using tools, it’s also important to prioritize safety. Always wear appropriate safety gear, including eye protection and gloves when handling drills and heavy installations.
Maintaining Your Stud Finder
Proper maintenance and care for your stud finder are vital for ensuring its longevity and reliable performance. Follow these tips to keep your equipment in top condition:
Clean Regularly
Over time, dust and debris can accumulate on the device. Use a soft cloth to wipe down its surface; avoid using harsh solvents that could damage the components.
Store Properly
When not in use, store your stud finder in a cool, dry place. Keeping it in its original case or pouch can protect it from impacts, moisture, or dust.
Periodic Check-Ups
Take time to check how your stud finder operates periodically. If you notice inconsistencies in readings, it might be time to replace the batteries (if applicable) or consider repairs.

Conclusion
Understanding how to use a stud finder effectively simplifies the home improvement process, ensuring your projects are secure and professionally finished. By mastering the techniques detailed in this guide and being aware of potential pitfalls, you’ll be poised to install shelves, frames, and other items without hassle. Remember, taking your time while using the stud finder, performing thorough checks, and knowing your tools will lead to successful results.
Beyond just knowing how to use a stud finder, maintaining your device and pairing it with the right tools can further enhance your DIY experience. Whether you’re a seasoned handyman or a beginner tackling your first projects, effective use of this handy gadget can make all the difference. Equip yourself with the knowledge from this comprehensive guide, and embrace every home project with confidence.